

Introduction
You are working on a small WordPress website and don't want to pay for hosting your small website for testing or you just want to run your website on raspberry Pi for fun... In this blog, I will walk you through setting up and running a WordPress website on Raspberry Pi 4 using docker.
Prerequisite
Raspberry PI OS (64-BIT) should be installed on your Raspberry Pi. 64 Bit is required for MySQL
arm64v8image. (For installation refer to the link)Docker should be installed on your Raspberry Pi (For installation refer to the link)
Preparing Docker Compose file
Login into your raspberry PI and create a new directory and name it whatever you want, I have created a directory called MyWebsite. In this new directory create a file docker-compose.yaml and copy and paste the below code. Wherever possible, I have tried explaining the code with comments :)
version : '3.9' #using docker compose version 3.9

services:
 #Defining mysql service
  mysqldb:
    image: mysql
    environment: #feel free to change these variables as needed
      MYSQL_ROOT_PASSWORD: root
      MYSQL_DATABASE: wordpressdb #name of database to be created on start of image startup
      MYSQL_USER: wordpressuser #this user will be created/granted superuser permissions for the database(wordpressdb)specified above
      MYSQL_PASSWORD: wordpresspass
    restart: always #this ensures when server reboots container resttarts
    volumes:
      - mysqldb_data:/var/lib/mysql #This will help persist mysqldb container data generated at '/var/lib/mysql' in named volume mysqldb_data
    networks:
      - mysitenet

  #Defining wordpress service
  wordpress:
    image: wordpress #use latest wordpress image from docker hub
    restart: always  #this ensures when server reboots container restarts
    depends_on:
      - mysqldb
    ports:
      - 8080:80    #expose container internal port 80 to host(raspberry pi) pot 8080
    environment:
      WORDPRESS_DB_HOST: mysqldb #mysql db hostname
      WORDPRESS_DB_NAME: wordpressdb #mysql database to be used for wordpress database
      WORDPRESS_DB_USER: wordpressuser #should be same as MYSQL_USER
      WORDPRESS_DB_PASSWORD: wordpresspass #should be same as MYSQL_PASSWORD
    volumes:
      - wordpress_data:/var/www/html #This will help persist wordpress container data generated at '/var/www/html' in named volume wordpress_data
    networks:
      - mysitenet

#Define volumes
volumes:
  mysqldb_data:
  wordpress_data:

#Define networks
networks:
  mysitenet:
Running the WordPress website
Make sure you are in the directory MyWebsite where we created the above
docker-compose.yamlfile.
Now run the command
docker compose up.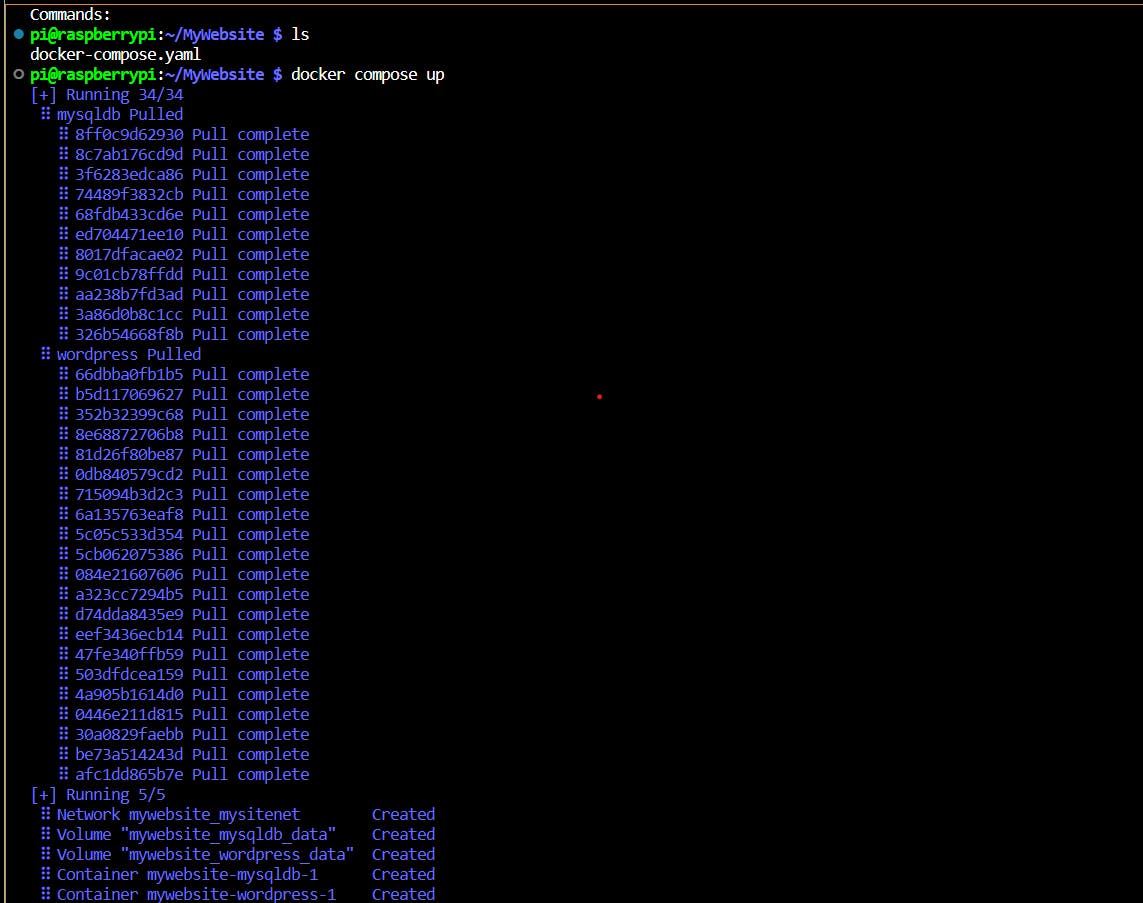
After running this command for the first time, all the images mentioned in the compose file will be automatically fetched from the docker hub; containers, networks and volumes will be also created automatically.
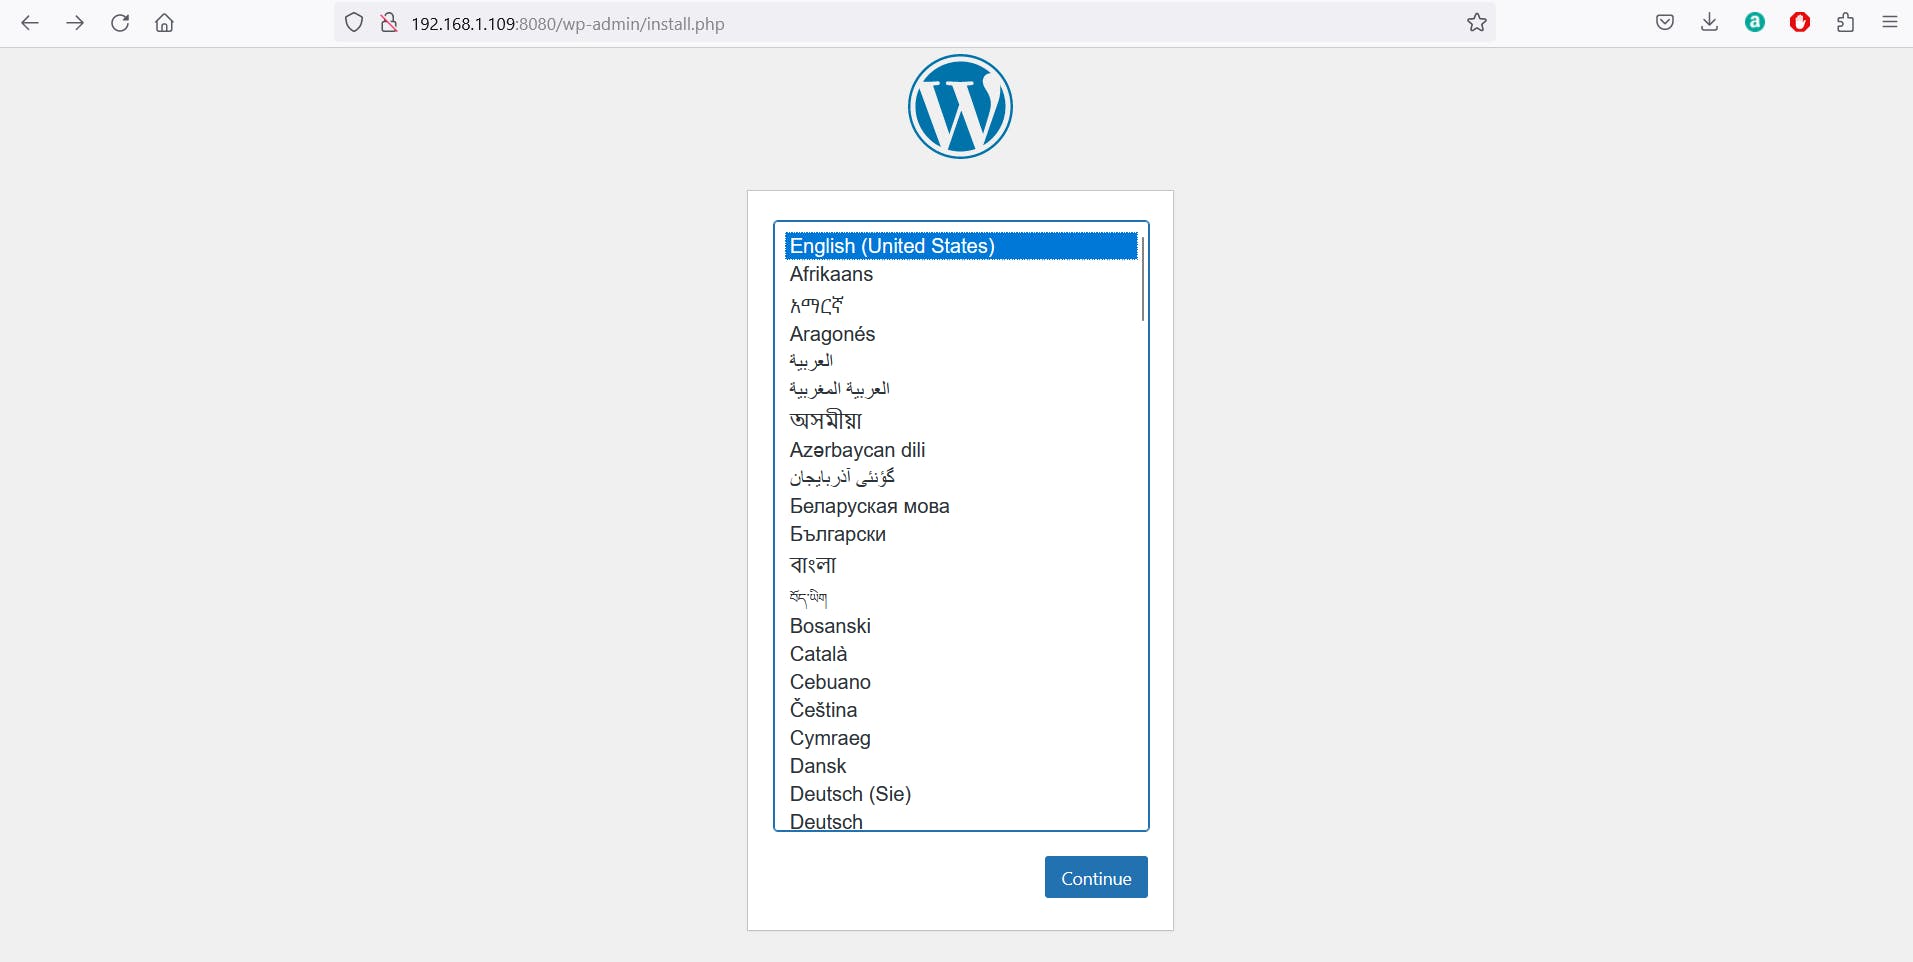
Once the above command runs successfully, copy and paste the WordPress URL into a new browser tab to launch the website.
URL Format: http://<host name/ip>:<port>
Example: http://192.168.1.109:8080NOTE:- In our case WordPress container's port 80 is exposed to the host(raspberry pi) port 8080, so we should use port 8080 in this URL.
If everything was fine, you should see WordPress installation UI as shown below.
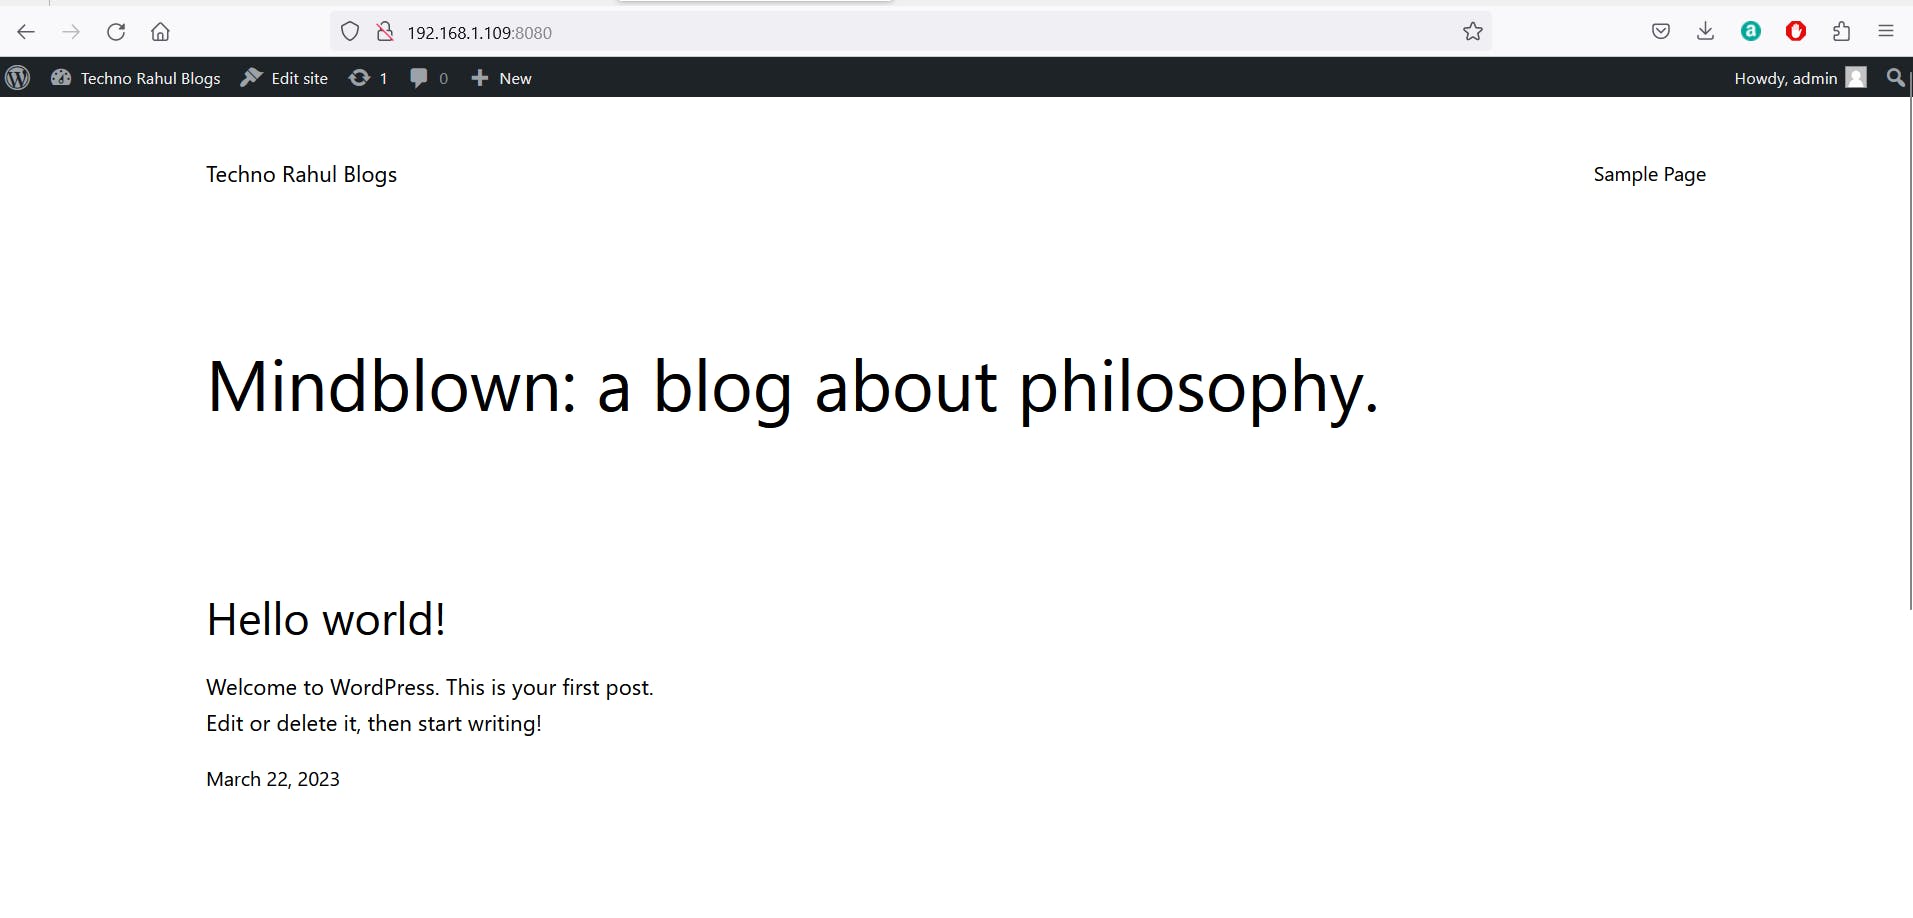
Continue the installation process and your website hosted on your Raspberry Pi is ready to use... Congratulations!!